
AutoSaving Office Files: The Good and the Bad
If you have an Office 365 subscription and you’re using the latest versions of Word, PowerPoint, and Excel, then congrats—you have access to a brand-new feature called AutoSave! As the name suggests, it’s a capability that protects us all from our forgetfulness by automatically saving documents every few seconds. It does this by default when you store a file in OneDrive for Business or on a SharePoint teams site and can be extremely useful to use. But we want to make sure you understand how to use it properly because there can be consequences…
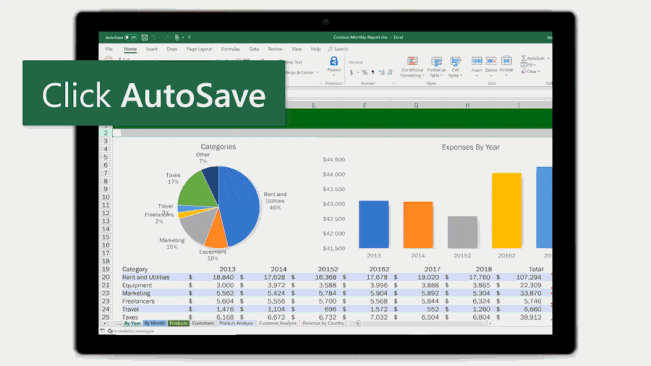
If you take a look at the gif below, AutoSave is located in the upper left corner of your document and it’s super easy to turn on and off.
But here’s the rub. You also need to be wary of AutoSave because when it’s flipped “On,” your changes will continue to save to the original document. That means you are overwriting the original file and will not be able to go back. This is important to understand if say you want to make changes to a template or someone else’s document while still keeping a version of the original file.
Here’s what we recommend:
- Go to File → Save a Copy.
This lets you work collaboratively on a copy of the original document without worrying about making permanent changes to the first file.
But what if I already made changes to the original file and I need to go back!?
- Restore a previous version of your document by going to File → Browse Version History
- From there, look through the dates and times of different saved versions of your document and pick the one you want to restore.
- Click on Open Version.
- Another window will pop up and all you need to do is click on the Restore